SwiftUI 动态设置 StatusBarColor
需求:SwiftUI 中,给不同的 View 设置不同的 StatusBar 颜色
原理
- 利用 .preferredColorScheme()
- .preferredColorScheme() 会始终使用先前 NavigationView 先前的设置
知道以上两点,就很简单了
实现
-
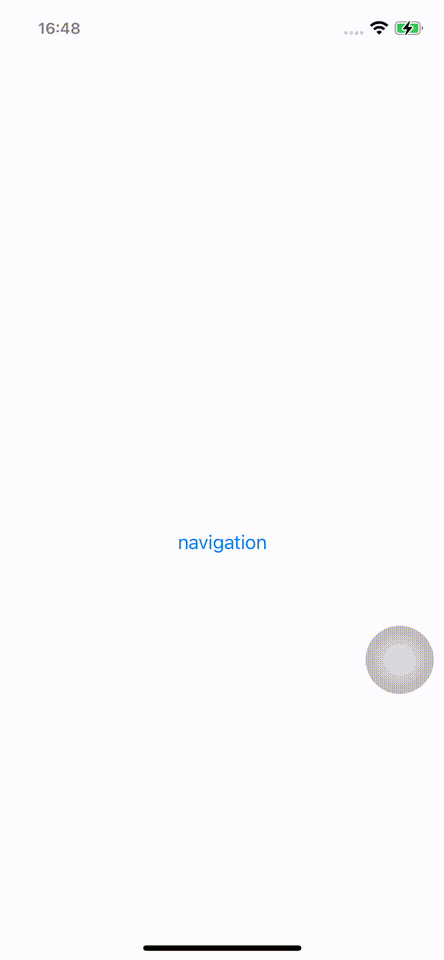
创建 NavigationView 用作测试
1
2
3
4
5
6
7
8
9
10
11
12
import SwiftUI struct ContentView: View { var body: some View { NavigationView { NavigationLink(destination: ContentViewFirst()) { Text("navigation") } .isDetailLink(false) } } } -
为 ContentViewFirst 赋值 .dark
1
2
3
4
5
6
7
8
9
10
11
12
13
14
15
16
17
18
19
20
21
22
23
struct ContentViewFirst: View { @State var colorScheme:ColorScheme = .dark var body: some View { GeometryReader { geometryReader in ZStack { Color.black.ignoresSafeArea() VStack { NavigationLink(destination: ContentViewSecond(colorScheme: self.$colorScheme)) { Text("ColorScheme = .dark") .font(.largeTitle) .bold() .foregroundColor(.white) } .isDetailLink(false) } } } .preferredColorScheme(colorScheme) // white tint on status bar } } -
在 ContentViewSecond 中修改 ContentViewFirst 中的值
1
2
3
4
5
6
7
8
9
10
11
12
13
14
15
16
17
18
19
20
21
22
23
struct ContentViewSecond: View { @Binding var colorScheme:ColorScheme var body: some View { GeometryReader { geometryReader in ZStack { Color.white.ignoresSafeArea() // 1 VStack { Text("ColorScheme = .light") .font(.largeTitle) .bold() } } } .onAppear { self.colorScheme = .light } .onDisappear { self.colorScheme = .dark } } }
效果